Tuesday, May 8, 2012

Cookies and Cream Cupcakes


I think I have mentioned before that I am not a huge cupcake fan. I will eat them, but usually not a whole one. It's mostly for taste testing and it is very rare that I don't have to find someone to finish off the rest of that "test" cupcake for me. (Mr and Baby Mac come in very handy in that respect.)

I am more of an ice cream girl. And then there's my fondness for Oreos.

Which is why....

THIS CUPCAKE BLOWS ALL OTHERS OUT OF THE WATER.
 

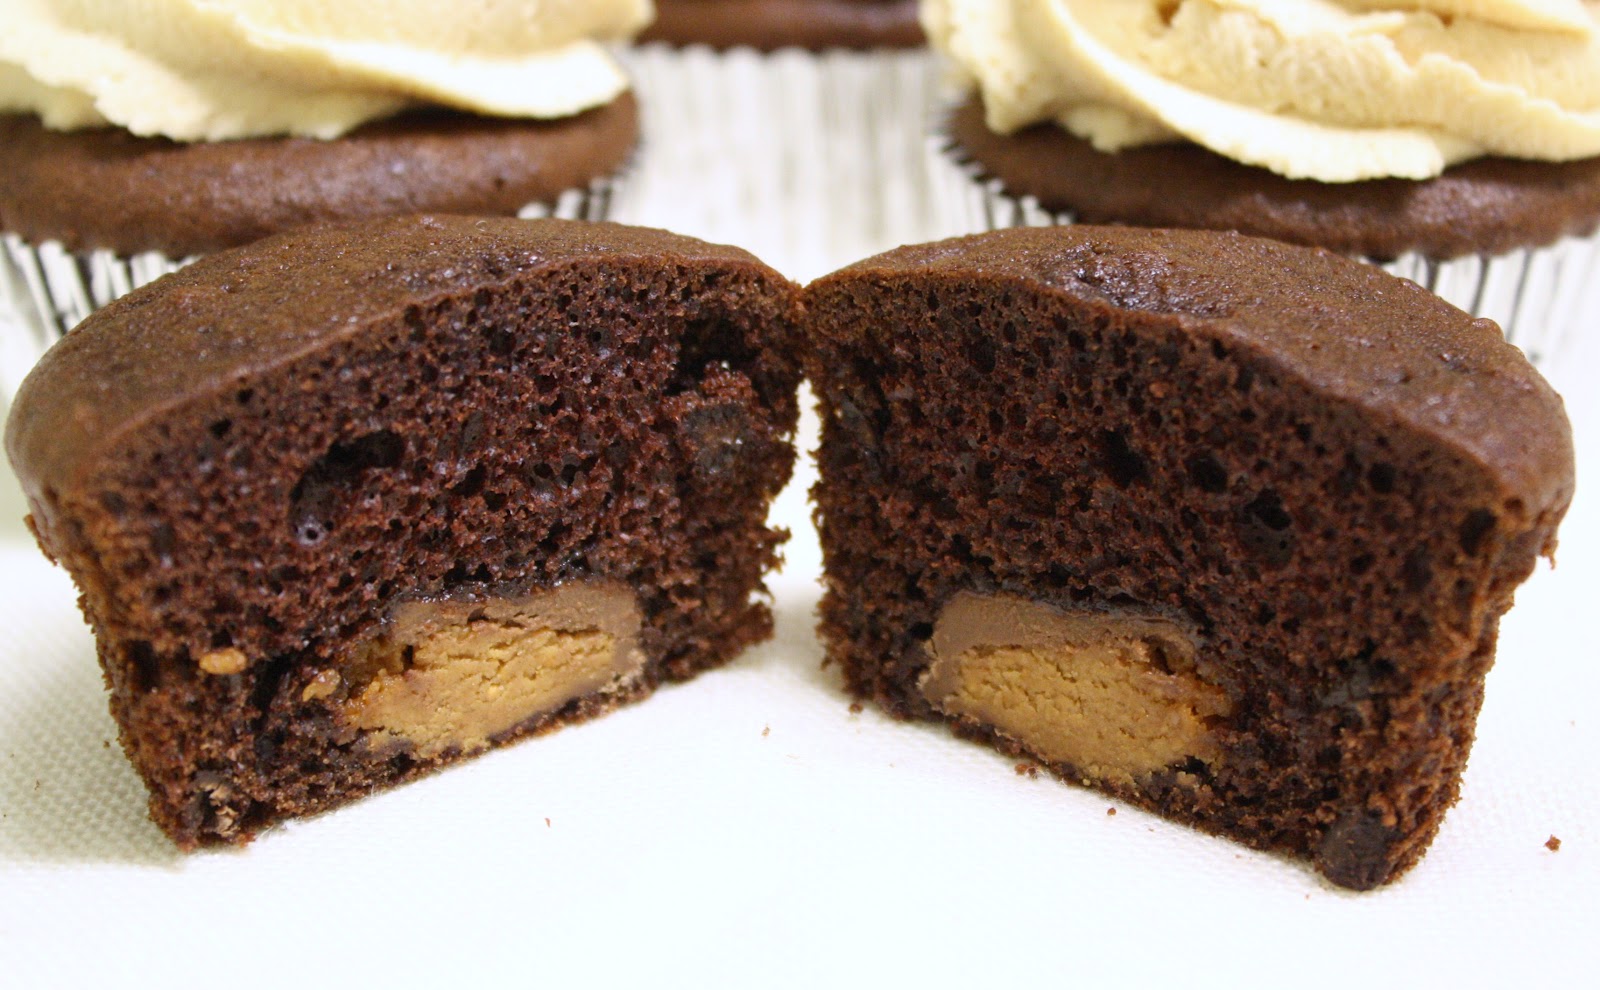
This is a devil's food cupcake with an Oreo in the bottom, topped with a decadent cream cheese icing mixed with crushed Oreos. Then, a mini Oreo to finish it off. If you like Cookies and Cream ice cream, you will flip for these.


Thank goodness I was making these for my friend Amy's birthday and my brother's graduation or I would have eaten 10 of them. By myself. In one sitting.


Cookies and Cream Cupcakes

 Cake Ingredients: 
1 Devil's Food boxed cake mix, prepared to a batter
3/4 cups mini chocolate chips
24 Oreos

Frosting Ingredients: (Recipe from Glorious Treats)*
2 blocks (8 oz) cream cheese, softened at room temperature
2 cups (4 sticks) butter
1/2 tsp salt (if using unsalted butter)
8 cups powdered sugar
2 tsp vanilla extract (pure is best)
4-6 tablespoons heavy cream, half and half or milk (I use milk)
Crushed Oreos (I crushed the remaining regular sized Oreos in the package after the 24 were used for the cupcakes.)
24 Oreo Minis

Directions:

-Prepare cake mix and stir in chocolate chips. Line 2 cupcake pans with liners and place one Oreo in the bottom of each. Fill each cup with batter to 2/3 full. Bake at 350 for 20-25 minutes or until toothpick inserted comes out clean. Cool completely.

-Using an electric mixer, cream butter and cream cheese on medium speed until smooth. Add salt, if needed. 

-Two cups at a time, add the powdered sugar beating after each addition. Add vanilla and beat to combine. If icing gets to thick to mix, add one tablespoon at a time of the milk until it is smooth again. On the other hand, if the icing is too thin, add a half cup powdered sugar at a time until it reaches the right consistency. Your icing should not fall off the beater right away when lifted out of the bowl. You want a consistency that will not move once it is piped onto the cupcakes.

-Once the icing is the right consistency, beat on medium speed for one minute until fluffy. Mix in crushed Oreos.

-Pipe or spread icing onto the cupcakes and top each one with an Oreo Mini.


~~~~~~~~~~~~~~~~~~~~~~~~
*This amount of icing was enough for the 24 cupcakes with some icing left over. If you spread the icing onto the cupcakes rather than piping it you will need less so half of this recipe will do just fine.

Pin It!

Sunday, May 6, 2012

Chocolate Peanut Butter Cupcakes


Chocolate and peanut butter have one of those relationships that just make all kinds of sense.

Like, sock and shoes...

Nuts and bolts...

Biscuits and gravy....

Kim Kardashian and Kris Humphries...Wait, What?

Just making sure your paying attention. By the way, wasn't that ginormous mistake blatantly obvious early on? I don't even watch the show but, just by catching a few clips on The Soup, even I thought, "Wow. Do they have their heads up their butts because it is clear their pairing is as awkward as a cow on a crutch."

Thank goodness there is nothing awkward about the partnership of chocolate and peanut butter. Remember those great 80's Reese's Cups commercials where someone got their chocolate in someone else's peanut butter? They really sum up the chocolate/peanut butter paradigm perfectly.


These cupcakes are pretty awesome. What makes them even more special is the surprise in the middle.


Each one has a Reese's Cup center. It makes a great statement in the middle of that tasty chocolate cupcake. 

They are topped with the BEST peanut butter frosting in the world and adorned with a Reese's Cup Mini. (Have you seen these yet? They are even smaller that the Reese's Miniatures and come unwrapped. They are super cute.)

"Just relaxin' on a bed of fluffy peanut butter frosting."

Chocolate Peanut Butter Cupcakes

Ingredients:

1 boxed Devil's Food cake mix, prepared to a batter
3/4 Cup mini chocolate chips 
24 Reese's Miniatures, unwrapped

Peanut Butter Frosting: (Recipe from Wilton)*

1/3 Cup vegetable shortening
1/3 Cup butter
3/4 Cup peanut butter
1 tsp pure vanilla extract
4 Cups confectioner's sugar, sifted
4-6 Tablespoons milk
24 Reese's Cup Minis

Directions:

-Prepare cake mix according to package directions. Stir in the chocolate chips.

-Line cupcake pans with liners. Fill each cup 2/3 full of batter. Place a Reese's Miniature in each cup on top of the batter. No need to press down. The cake will bake up around it.

-Bake for 20-25 minutes until done. (Usually you can use a toothpick to tell when cupcakes are done. Insert it into the middle and if it's clean when it comes out, they are done. In this case, you are going to have some Reese's Cup on the toothpick. If you can decipher between batter and melted chocolate you will be fine. Otherwise, if you press on the cupcake and it springs back, they are done.) Totally cool before icing. 

Frosting Directions:

-Using an electric mixer, cream shortening and butter. Add peanut butter and vanilla. Gradually add sugar, one cup at a time, beating well on medium speed. Scrape sides and bottom of bowl often. [Unless you have this!

-If icing gets too dry and stiff to beat, add a tablespoon of milk. Once all sugar is incorporated, add the remaining milk if necessary then beat until fluffy, about one minute. (You don't want the icing too thin or it will not stand up on the cupcakes. Lift the beaters or paddle of your mixer and if the icing doesn't fall right away you are good to go.)

-Frost cupcakes and top each one with a Reese's Cup Mini. 


Make these for your loved ones and I guarantee you will be their favorite person for life.

~~~~~~~~~~~~~~~~~~~~~~~

 *This recipe from Wilton frosts about 12 cupcakes. I doubled what is here and it frosted exactly 24.

Pin It!

Wednesday, May 2, 2012

Pink Lemonade Cupcakes


I used to love all the seasons equally when I was growing up, but as I have gotten older I like winter the least. I love the coziness of being indoors during the cold months, I love the first snow and the Christmas season. That is where it ends.

Though we had a pretty mild winter this go around, I thought the one before would never end. It was so cold it hurt. I had to bundle up not only myself but a baby, as well. I had to scrape enough snow to fill the Arctic off of my car and then drive in the mess.

Luckily, this year spring came early and summer is right around the corner!  And when I think of warm weather I think of cook outs, swimming pools and cool drinks. And what has "summer" written all over it? Pink Lemonade!

Around Easter I found a Pillsbury Pink Lemonade cake mix and icing at my grocery store. They were the only ones left. They were waiting for me and I was intrigued enough to buy them.


When using a boxed cake mix, I usually jazz it up with some changes. I use milk instead of water, add chocolate chips, introduce some fantastic flavor emulsions, etc. I prepared this mix according to the box instructions, though looking back I wish I would have added some lemon juice and zest to the batter. While it does have a lemon flavor, it could have a bit more lemon punch.

For the icing, I added to the store bought Pink Lemonade. I combined some of my own buttercream, some lemon juice and lemon zest. The intense lemon flavor of the icing made up for the lack of it in the cake. Everything evened itself out and made for a fabulous Pink Lemonade cupcake!


Want to make your own version of these? Just add a touch of pink food coloring, some lemon juice and a bit of lemon zest to a boxed cake mix and do the same to some store bough icing or your own batch of buttercream. Super easy!

On another note, Happy Birthday to my good friend Ellen! I have a little taste of summer waiting for you!

Pin It!

Monday, April 30, 2012

Orange Creamsicle Cake


There were many occupational hazards during this photo shoot.

Lots of orange juice along with excess frosting and crumbs that had to be removed from the plate. And the clean cut on the edge of that slice of cake? It didn't happen by accident. I cleaned up the edge with that fork, and then cleaned off the fork with my mouth. Hey, I had a camera in one hand and an excited toddler pulling on the other. I had to think quick on my feet. All in all, I think I consumed about 400 calories just trying to get the shots to my liking. It's a tough, tasty job. 

My brother Patrick had requested a while back that I make an orange creamsicle cake while he was in town. One of his friends made it some years back and he's had it on his mind since. I had never heard of it so I used my best friend Google to see what I could find. 

I found tons of versions and while they differed from recipe to recipe the premise was pretty much the same: pouring liquid orange gelatin over a baked cake then frosting it with a mixture of whipped topping, vanilla pudding and another box of orange jello. 

Some recipes used yellow cake, some used orange. One recipe used cream cheese while most did not. Almost all of the recipes called for the cake to be baked in sheet form. 

I didn't really follow one single recipe. I took elements from every version I came across and went for it.

Also, I am a layer cake kind of girl these days so I went that route. I used one orange boxed cake mix and divided it evenly between three 8 inch pans. I left the cake in the pans to cool and divided the liquid jello between them.

This cake truly tastes like an orange creamsicle. My husband took a bite and said, "Wow, it tastes just like a Flintstones Push Pop!" (Remember those? I love the way he thinks.)


Orange Creamsicle Cake 

1 (18 oz) box orange cake mix, prepared 
1 (3.5 oz) box orange gelatin*
1/2 cup boiling water*
1/2 cup cold water*

Frosting
8 oz cream cheese, softened**
1 (3.5 oz) box instant vanilla pudding
1 (3.5 oz) orange gelatin
1 cup milk
1 tsp vanilla
8 oz tub whipped topping, thawed

-Poke holes in the prepared cake. (If you are making a layer cake, leave the layers in the pans for this step.) Stir boiling water into gelatin and mix until dissolved. Add cold water and stir to incorporate. Pour liquid gelatin evenly over cake. Refrigerate for at least an hour.

-Beat cream cheese until smooth. Add gelatin mix, pudding mix, milk and vanilla and mix well. Fold in whipped topping. Spread onto cake and chill until ready to serve. 


~~~~~~~~~~~~~~~~~~~~~~~~~~~
I noticed later that every single recipe called for a 6 oz box of gelatin in this step. A 6 oz box would in fact make for a more flavorful and moist cake. If you use that size, maybe up each of the waters to 3/4 cup.

**Most recipes did not call for cream cheese. I am a cream cheese lover but if you are not a fan it is more than fine to leave it out.

Pin It!

Saturday, April 28, 2012

Can't Do Without


Meet the SideSwipe Spatula Mixer Blade. This handy gadget is my new best friend. For anyone out there with a Kitchen Aid mixer, I highly recommend you hook yourself up with one of these bad boys. 

When mixing with the regular paddle blade, I always have to stop and scrape down the sides and around the bottom of the bowl to ensure everything gets incorporated well. There is always some dry ingredient of some sort down there just waiting to get in on the action.

With the SideSwipe, those days are no more. The SideSwipe blade is coated in rubber fins that scrape the sides and bottom of the bowl as it mixes. That means better mixing and shorter mixing times. I tried it the other night and it was fantastic! I didn't have to scrape the bowl once and everything mixed up better than before. My mixer is now even more independent than ever!

Amazon has it for 20 bucks and it's a great investment if you ask me. Consider it time saved in the kitchen!

Pin It!

Thursday, April 26, 2012

It's a Girl! (Gluten-Free Cupcakes)


I am an aunt! Baby Mac has a cousin! 


My sister rocked at child birth. She and her husband were absolutely beaming! They will be fabulous parents to Elizabeth Ruth! I am going to squeeze that baby like mad when I get my hands on her. (I didn't get to hold Elizabeth yesterday so when I get to her, it's on!)

Babies are just about the greatest thing on earth, aren't they? I mean, the fact that a woman can grow a human IN HER BELLY, and then the love that radiates from all around when that little person enters this world, is just phenomenal. Nothing compares to it. 

I made some cupcakes to take to the hospital for the parents to have on hand in case my sister is like I was after childbirth and  in desperate need of something sweet. My brother-in-law has Celiac Disease so I used a gluten free recipe I have had in my arsenal for quite some time but had yet to try. I found the recipe on the fun site With Sprinkles on Top  but it originated at Chocolate and Carrots

Gluten-free recipes use gluten-free flour. Gluten is what makes baked goods, well, good. So needless to say, my sister has a hard time finding recipes that work in this area because she says the GF flour makes for a very dense and tasteless end result. 


This recipe remedies that. And you would not believe how: black beans. Yep. I said black beans. Instead of flour, they are pureed and mixed in with the rest of the ingredients. You would never know! The chocolate pairs very well with them and takes over in the taste department. And somehow, I don't know the science behind it, they fill in perfectly for the flour. (I am guessing they make up for the lacking protein due to the missing flour.) They make for a moist and flavorful cake.


Baby Mac and Mr. Mac tried them sans icing and they were none the wiser. 


I topped these with a swirl of chocolate and pink buttercream icing. 


Chocolate Gluten-Free Cupcakes

1 can (15.5 oz) reduced-sodium black beans, drained and rinsed
4 eggs
1 Tablespoon vanilla extract
5 Tablespoons unsalted butter, or coconut oil
3/4 cup sugar
5 Tablespoons special dark cocoa powder
1 teaspoon baking powder
1/2 teaspoon baking soda
1. Preheat oven to 350F and line a 12-cup muffin pan.
2. Blend the beans, 2 eggs, vanilla, and sugar in a food processor (or blender) until completely blended.
3. In a small bowl combine the cocoa powder, baking powder, and baking soda.
4. In a large bowl, beat the butter until fluffy. Add the remaining two eggs and beat well after each. Beat in the bean mixture. Beat in the dry ingredients.
5. Pour the batter into muffin cups. Bake for 20-25 minutes or until a toothpick comes out clean. 

My sister said that these cupcakes are much better than their regular gluten-free counterparts. "Richer and moist" and "You can't even tell there is anything but sweet stuff in there!" And her husband said he "LOVED" them.
If you or someone you know has a gluten allergy, you MUST try these cupcakes! You will make their day!
Pin It!

Monday, April 23, 2012

Treat Yo Self to a Petal Cake


My brother Patrick is coming into town! I can't wait to see him. He lives in Aspen, Colorado and makes it in to see us about twice a year. He is so witty and entertaining. As soon as Baby Mac sees him she starts giggling because she knows there is fun to be had.

Today is his birthday! While Baby Mac and I were at my parents' house this weekend, I made a special cake that will be waiting on him when he gets into town tomorrow. Isn't it fun?! You are not going to believe how simple this petal technique is!

One of my MOST favorite food bloggers, The Hungry Housewife, posted a tutorial on this petal technique a few weeks ago and I have been dying to try it. (By the way, check her out. She is super fun and oh so clever. And her video tutorial kicks the butt of the one I am doing here.) Her cake was done in a blue ombre fashion and turned out GORGEOUS. I am hoping to make that version for a friend of mine in a couple weeks, so I was thrilled to get to practice on my brother's cake.

Here's how it's done. First, crumb coat your cake.


Normally with a crumb coat you just put a thin layer all over the cake not worrying if it doesn't look "finished." And typically with a petal cake, you continue the pattern all over the top of the cake which hides the crumb coat. But because I wanted to write on this cake, I took time with the top of it making sure it was smooth and presentable. If you are going to cover the top of your cake with petals, you don't have to worry about the first coat of icing looking pretty.

Next, using a #12 piping tip, pipe a line of vertical dots about the size of a quarter.


With a small offset spatula, or the back of a spoon (which is what I used), press into the right side of the dots and drag sideways. 


Pipe another row of dots, drag them, and repeat all the way around the cake.


Until you end up with this!


To finish the cake, pipe one last row of dots and just don't drag them. This is the back of the cake and will not be very noticeable. 

For the top, just pipe and drag the dots in a circle. You can see more detail of this on The Hungry Housewife's cake. Again, because I wanted to write on this cake, I just did one circle of dots on the top.

And because my brother and I are huge fans of Parks and Recreation (Ron Swanson is our hero) I did this:


A couple of the characters on the show have an annual "Treat Yo Self Day." Do "yo self" a favor. Click on this link. You will laugh. And who couldn't use a good Monday laugh?


Happy Birthday to my sweet, sweet brother! We can't wait to see you!

Pin It!